Showing posts with label Focus 105 Cayo. Show all posts

Sunday, 11 October 2015

Cole Rollen Wheel Failure - Update 4 November

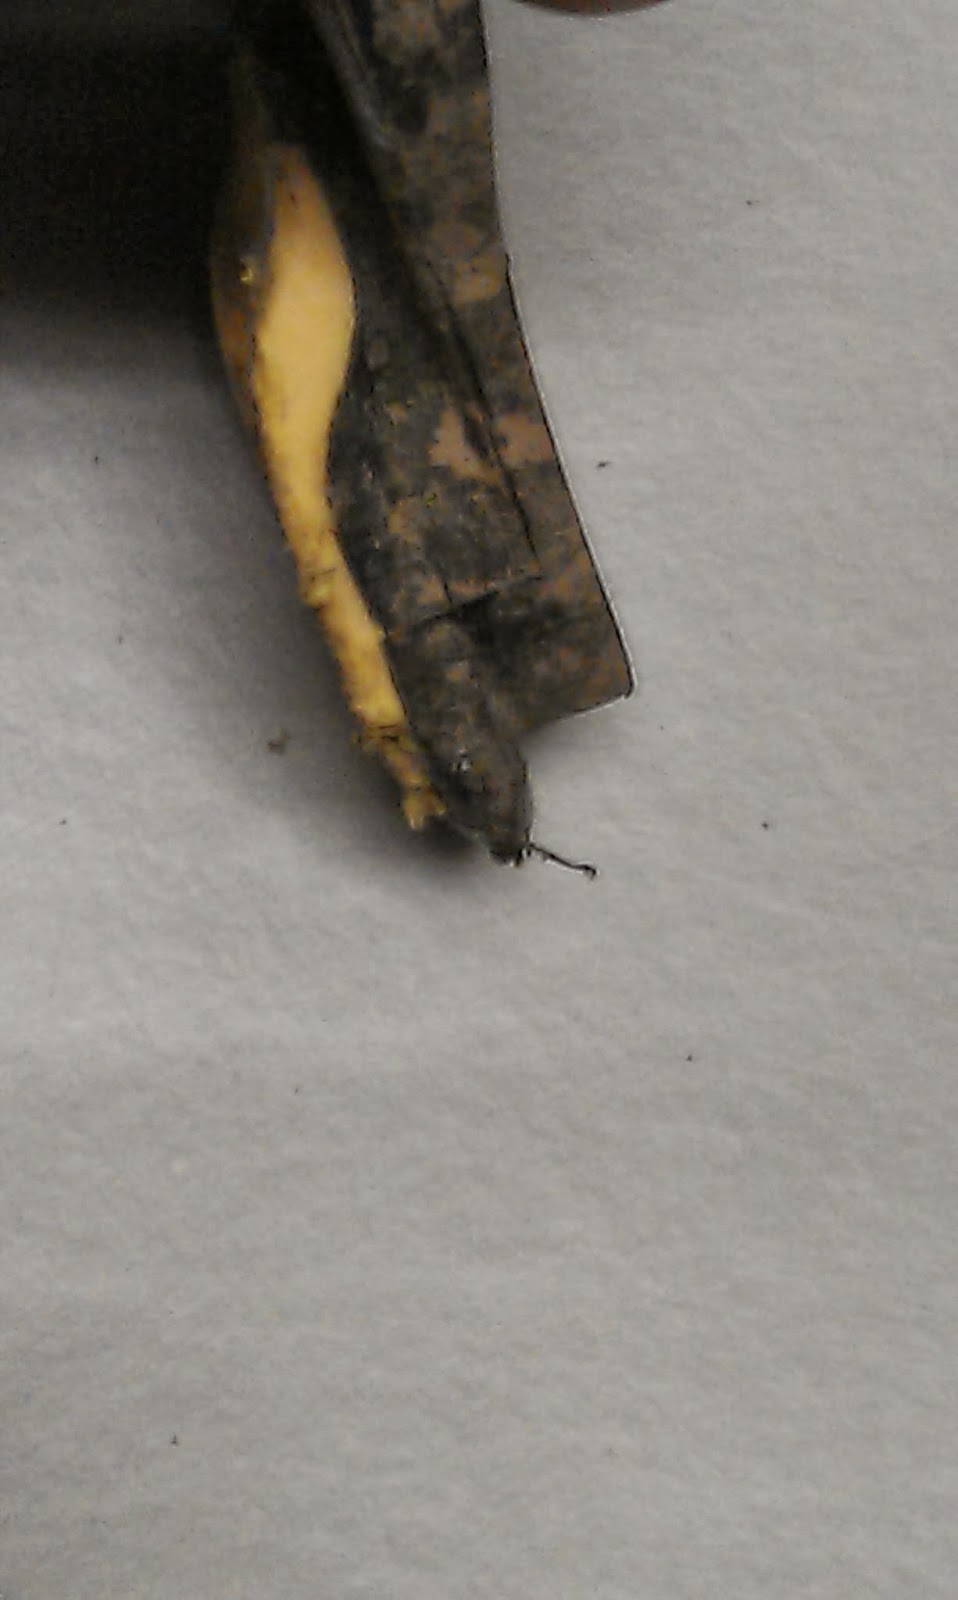
I was riding home from work mid September on my Giant in and the rear wheel was rubbing. A quick glance when I got home suggested that it needed a little truing so I swapped back the original heavy duty Giant wheels and thought nothing more of it. This weekend I thought I'd spend a little while trying to pull it back to true and spotted this:


This is a pretty catastrophic failure  - I was lucky I swapped the wheels when I did as this would have been a ride stopping failure!

I have started to strip the wheel down (to keep the hub for general bike maintenance purposes) and have seen another crack in the rim. The front looks OK but I'll double check now.

The wheels have done about 12500 miles - mainly in the Spring to Autumn months. I don't think that's particularly impressive, given that I am also quite light.

Update 4 November: I have scrapped the rims. I cut them up and here is a couple of shots of the cross section:


Sunday, 30 November 2014

The Downsides of WInter Riding

I like riding my bike and I like riding my Scott in preference to my Giant. The problem is that at this time of year it just gets filthy, as does the rider. The Giant has mudguards but it has got that each year I put off hibernating the "best bike" later and later. This weekend may however be the last for this year.

Here's some photos of the Scott after 50 miles of wet and muddy country roads today:


The bike is actually an olive green/grey colour!

I was as dirty as the bike up my back

Bottom bracket and cranks covered in mud

Tyre and rim covered in mud and only the brake track clean

And here its is after 20 minutes of cleaning - nothing more than gentle and careful use of a hose, a bowl of warm water with a dash of washing up liquid, an old saucepan cleaning brush and a rag - quite a transformation:


While the frame cleans up easily I did not remove and clean the chain (it has a KMC Quick link so its not too difficult) and the wear on the rims from mud and brake pads is higher - and it sounds awful every time the brakes are applied. The tiny rim wear indicators still show that the rims are OK but they are starting to look quite grooved and worm now after about 8-10000 miles, firstly on the Focus and now on the Scott.

This weekend may well be the last for riding until the weather dries out again next Spring

Saturday, 5 April 2014

Chain Rings

On both my bikes the chains were pretty shot from (in the case of the Giant) all year round riding and in the case of the Scott a lot of summer miles on the Focus and a number of miles on the Scott through the winter (but not in the worst of the weather).

In the case of the Scott the chain set was the original FSA Gossamer from the Focus. On the Focus the I'd done over 8000miles and the Scott has done around 1500 miles. There was quite clearly a lot of wear on the 50T ring, and although there was some on the 34T this was probably OK - given that probably more that 90% of mileage is done on the big ring this doesn't seem unreasonable. I bought a couple of KMC chains (X-93) in preparation but was not prepared to put a new chain on the Scott without new chain rings. The cassette (a Shimano 105 11-28) has a much lower mileage on it as it swapped out the original 12-27.

However getting spare chain rings is both difficult and expensive. Significant internet research suggested that I'd be looking at around £35-50 for the 34 & 50T rings. The pair would be be at least £60. This compares to around £85 for a complete replacement chain set. In addition I was struggling to both find the exact replacement parts (surely they are different for different chain sets?) and somewhere where they were in stock.

After a lot of research I decided to take a different approach and replace the whole chain set. I ordered what I felt was an identical FSA Gossamer unit from Planet-X at a reasonable price and good delivery.

However I was quite surprised (and disappointed) to find that the design had changed. In the version on my bike the bottom bracket pre-load is achieved by a "special" nut that pulls the left hand crank onto the bearings. This is achieved with just a 5 or 6mm key, and then the normal 2 bolts on the crank arm pinch the arm to the shaft. This is the "nut" - just needs an allen key:


On the new design however this arrangement has been completely changed and a special tool is required. After yet more internet research it appears that (a) this tool is hard to source and (b) this tool is very expensive - it is at least £35. This is the tool here:


For reference this is from a US based EBay shop with the link here to save people time in the future: FSA-MegaExo-Crank-Bolt-Lockring-Tool and costs £25 + £15 postage

This is very steep for a tool that might be used once per year, and as I'll explain later compares very unfavourably to the Shimano equivalent which costs about £2!

I decided on this basis that I'd move from FSA and get a Shimano 105 (5700 series) model instead. So I returned the FSA chainset back to PlanetX and got a refund. Coincidentally at about the same time there was a set of drive train reduction email offers from Ribble - so I ordered the Shimano unit for only a couple of £ more. I also ordered the "special" tool at the same time.

Here's the crankset:


And here's the special tool (all £1.69 of a piece of plastic):


The proper description is "Shimano Hollow Tech II Crank Installation Tool TLFC16".

When I took the FSA chain set off I looked more carefully at the 50T chain ring. Two of the teeth were quite damaged:


The teeth above the "D" and the particularly the "A" are the broken/excessively worn teeth.


In this picture the wear on the 50T can be seen compared to the relatively low wear on the 34T.

In the end it took about 30 minutes to fit (with the new chain). Here's a few pictures of the Scott with the new chain set fitted:


Tuesday, 1 October 2013

Cleat Failure

Shimano Cleats

On my "best bike" - what was the Focus and now the Scott - I use Shimano PD-R540 pedals and cleats. These pedals are pretty cheap but the same design and style as all the other Shimano pedals. I fitted the first set of pedals in 2010 when I got the Focus and have continued to use them since then. As these are fitted to my "best bike" and it only gets ridden in better weather they get used from about March until October (or if good weather November), they don't have too hard a life. Also as they are ridden on a "leisure" rides they don't really get walked on much, unlike the SPD pedals and cleats I use on my Giant for commuting. However during the summer this year I noticed that the cleats were getting pretty worn. I certainly didn't think that they were completely worn but did accept that a new pair would be needed at some time. I therefore started to look on-line to see if there were any reasonable offers. If I was honest the price of cleats is outrageous for a little bit of plastic. Various searches showed that the cleats typically retailed at around £17-18 and a set of pedals and cleats could be got for £22-25. A chance internet surf showed PD-R540 pedals on offer for £20 from Wiggle. At this price it seems absurd to spend £17 when for £3 more one can get a set of pedals as well. So I bought a set and put the pedals in store for future use. In fact despite a few signs of scrapes etc the original pedals are in excellent mechanical condition.

Anyway the real reason for this post was that when I swapped the cleats I found that one of them was actually cracked:


Split Cleat -split just about visible

I had not noticed this until I removed the cleat. I was a bit puzzled why but realised that this cleat had one of the square washers missing:


The "square washer"

Even further thought and I recalled that on one ride  a year or so ago I had heard a tinkle noise as I clipped in. I stopped and realised that the front bolt had come out of the shoe but amazingly found it straight away and screwed it back in, carried on and clearly forgot completely about it for the next year or so. I guess what happened was that the the bolt clamped on the plastic of the cleat and as a result caused a high stress region and this is why the cleat cracked. Its a credit to the strength of the material used that it lasted ~5000 miles before cracking and was still functioning OK - perhaps this is a reason that they cost 80% of the price of a pedal and cleat set!

In terms of the cleat wear - here are a couple of shots how well I made the original set last:


Not that much wear
I have kept the original set as emergency spares - I won't use the split one but the other will suffice for  while as an interim spare


Tuesday, 20 August 2013

Building a New Bike - Part 3 - Observations

I wrote about building a new bike here and here. These 2 posts are more of an overview but I found some interesting things on the way that I thought I'd share. These are in no particular order.

Carbon Steerer on Focus Cayo
My Focus Cayo had a carbon steerer, not aluminium as I had assumed

Frame Stiffness

The Scott frame stiffness seems higher than the Focus - this was with the crude "press foot against the crank" test. From this I could detect not frame movement. Compared to my Focus a very small amount was visible and for the (Aluminium) framed Giant the movement is very clear.

Bar Tape
I had forgotten how to wrap the bar tape around the shifters. A quick search on YouTube brought up this link - it was excellent and better than the ones I had watched before:

https://www.youtube.com/watch?feature=player_detailpage&v=J6g3-55iVU0

To quote one of the comments: "ive watched 5 bar wrapping vids now. this one is the best. no nonsense Australians getting shit done" - spot on

Steerer Misaligned
On the first ride I realised the steerer was misaligned - irritating and felt really odd.


Front Dérailleur 105 5700 Shift Load
Front dérailleur shift load. I wrote 2 posts about this here and here. In fact these are the 2 most visited posts on this blog by far so I guess I am possibly not the only person with possible issues. Briefly whilst the outcome of fitting 5700 series components for the rear was an improvement of the 5600 shift quality and feel the front dérailleur was a disappointment with a much high shift effort than I expected. Despite much fettling I could not get it anywhere near as good as the shifting with a 5600 set up. A problem, but not associated with the 5700 shifters is that as the cables are hidden under the bar tape, there is no room for a cable barrel shifter. The Focus did have these fitted for both front and rear on the down tube but the Scott did not. So I bought one of these (in black):


For what they are they are expensive at around £7 but without it I would have failed to get any form of sensible adjustment on the front

Here it is fitted:


However I am pleased to report that after this fettling the front shifting is now as I would have expected - light, precise and smooth shifting. I cannot see what has changed compared to the Focus as the shifters are the same, and the basic cable routing is also the same and the front deraillieur is the same. I did make another change in that I replaced not only the inner cable (as last time) but also the outer cables as well - with a Shimano set. It really has made a difference and is what I would have hoped it would be from new.

Kool stop brake pads
I needed some new brake pads for the Giant, but chose to buy some new pads for the Scott and move the Focus pads to the Giant. The Focus had the original Shimano 105 5700 pads from last year. They had lasted very well but this is because they seem quite hard. After some perusing of internet forums (fora?). I bought some Kool Stop Dura 2 inserts (black)


 Kool Stop Dura2 Pair Of Cartridge Inserts

First impressions are extremely positive - significantly improved braking performance and what seems to be good modulation. Time will tell how they last. Apparently Dura 2 are:

"The Dura2 insert is our newly designed road pad. The pad is thicker than our standard Dura type for longer life, has a 7.65 mm contact width for narrow rims and cut outs for reduced weight."

New Cables
I fitted full new cables (inners and outers) for both gears and brakes. It just goes to show that improved shifting and indexing can be achieved with new parts - whilst the inners were changed around 18 moths earlier the outers were the originals and were over 3 years old.

Ride feel
It does "feel" different - a non-engineering metric but it rides differently

Weight
The weight came out at about 400g less than the Focus. I was hoping for a little more. The bike is now (fully equipped) just a shade of 8kg. I am pretty happy with this.

Seat post
I thought I might need a new seat post - in the end I didn't as it was the same size as the Focus.

Cutting cable outers
I was going to buy a "proper" tool. But didn't. I very carefully cut all the outer cables using a small (junior) hacksaw with new blade. No problems for the brakes cables but I needed a lot more care to get a smooth finish for the gear cables which were made of wrapped separate wires. The finish came out OK in the end.

Torque Wrench
I had bought a 3/8" torque drive a while ago (torque wrench). I used it for some of the components. It is amazing how tight some screws actually need to be - much tighter than you would have thought.

Chain Length 
Despite fitting all the same drive train components the chain is about 1 link too long now - on the Focus it was exactly right. I am not going to make any changes now, and will resolve when the chain needs a change. As its too long in small-small which I don't use its not a problem for now.

Sunday, 18 August 2013

Building a New Bike - Part 2 - The Build

In a previous post I discussed the new Scott CR1 Pro frame I had bought with the objective of moving the components across from my Focus to the Scott. I have now completed this successfully. This post is a report of the whole process.

I'll document some more details in another post - this is mainly just photos showing it going together. For example in other posts I have commented on the high shift load for the Shimano 5700 front dérailleur and this will be covered in the next post (here).

Firstly of course firstly I needed to get the frame:


It came within a few days well packed


The frame and fork unpacked

The Frame with the protection still in place

Frame and fork

Frame and fork
As I wrote in the first post Cult Cycles fitted the headset and cut the fork for me. I then went on holiday for a week so the frame sat in the loft. I knew I needed some additional parts so I ordered these from Wiggle at the end of the holiday for delivery in the week I came back.

The first main activity was to strip all the parts off the Focus and clean them thoroughly. I also weighed them reasonably carefully (see here). However the cheap digital scales:


I used seem a bit inconsistent and I don't fully trust them. It's easy to re-weigh the same parts and get different results. The resolution is also on 0.01kg so not great discrimination for some of the lighter parts.

It took 2-3 evenings to strip the parts from the Focus and clean them, before I started on the build of Scott. Here's the build at a very early stage:


The frame in my Park Work Stand with seat tube fitted to given some strength to the seat tube. The stem is a temporary part to hold the fork in place

Before any parts fitted (with the recycling bag in the background)

With the correct stem, handlebars and shifters fitted. Also front and rear brake calipers and front and rear dérailleurs and chainset. The cable outers are still connected to the shifters to give an indication of length.


Front on view

The wheels are now fitted


Almost finished. Chain fitted. All cables installed. Gears indexed. Brakes adjusted. Bar tape fitted

I fitted an in-line cable adjuster for the front deraillieur given the issues I had with the front mech on the Focus

Cable outer length might need a little optimisation


The drive train


The massive seat stay/seat tube interface


Detail of the front of the bike

Finished

The massive bottom bracket area


Total build time - about 6 hours over 2 evenings and a Saturday morning.